
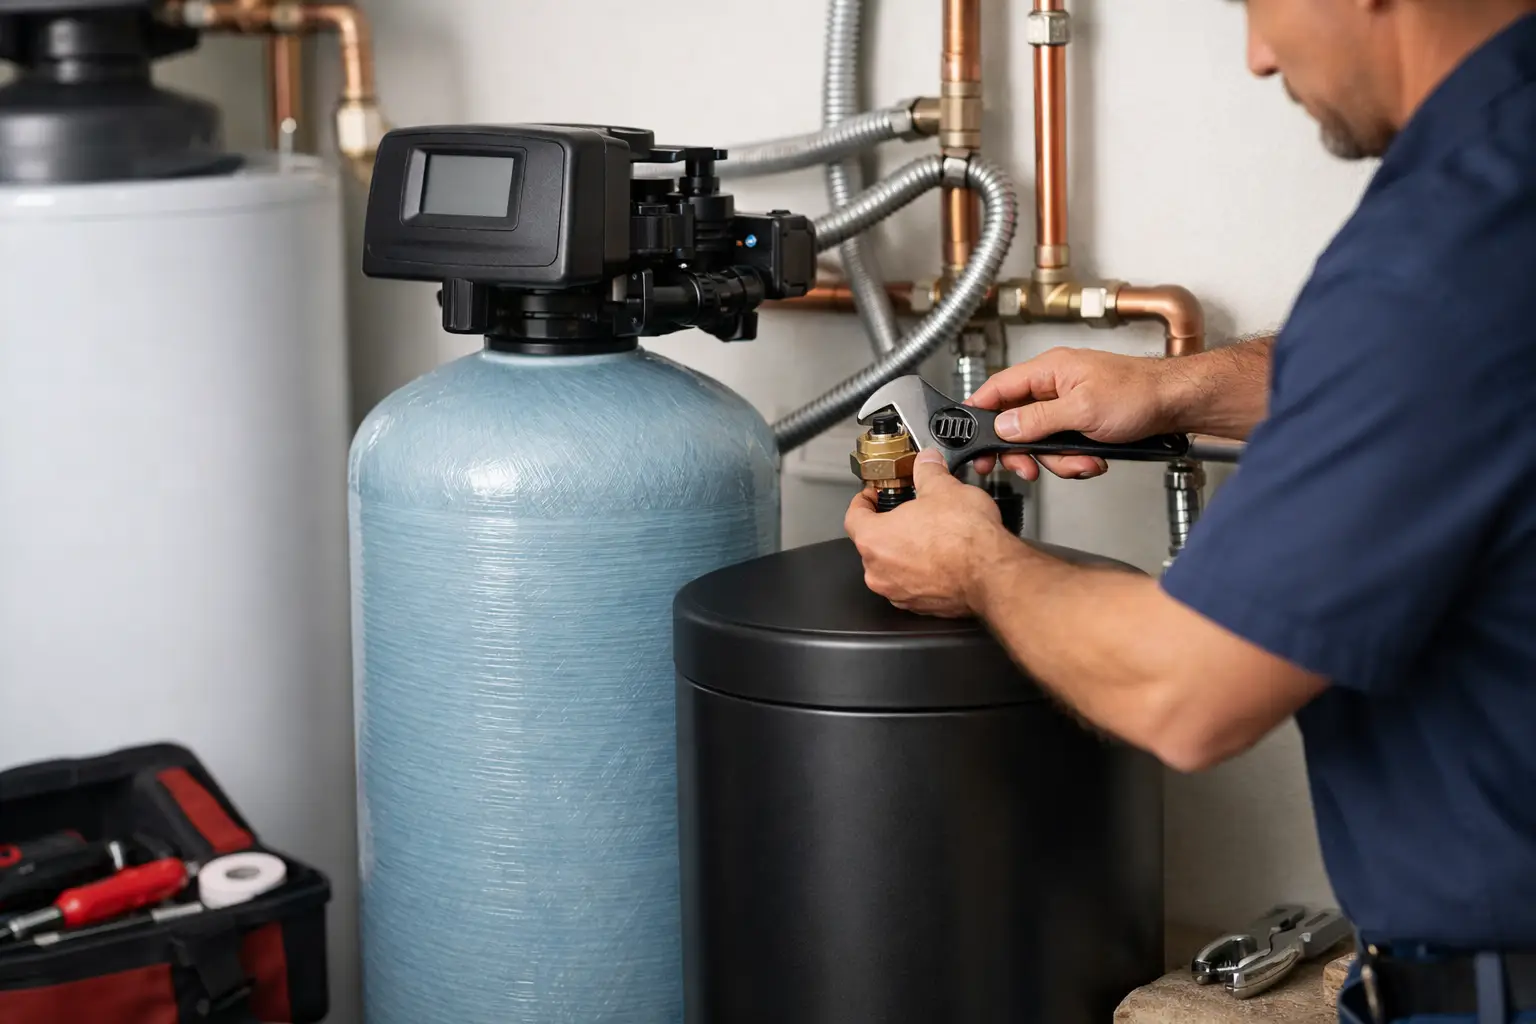
Hard water usually shows up before anyone tests it. You see scale on faucets, stiff laundry, spots on glassware, and a water heater that seems to work harder than it should. If you are searching for a water softener installation guide, the real goal is not just getting a unit in place. It is getting a system that fits your property, protects your plumbing, and runs reliably without creating new problems.
For homeowners and property managers, installation is where good equipment can either perform well for years or become a recurring service call. For commercial settings, the stakes are higher because poor setup can affect fixtures, appliances, boilers, and operating costs. A water softener is not especially complicated, but the details matter.
What a water softener installation guide should help you decide
Before you think about piping or startup, confirm that a softener is actually the right solution. Water softeners are built to remove hardness minerals like calcium and magnesium through ion exchange. They are excellent for scale control and extending the life of plumbing fixtures and water-using equipment. They are not designed to solve every water quality issue.
If your water also has sediment, iron, sulfur odor, or unusual taste concerns, a softener may need to be paired with prefiltration or another treatment step. That is one reason professional assessment matters. Installing the wrong system, or installing the right system without the right supporting components, often leads to disappointing results.
Sizing is equally important. A unit that is too small will regenerate too often and struggle during high-demand periods. A unit that is too large may cost more than necessary and operate inefficiently for the household or facility. Proper sizing depends on hardness level, water usage, peak demand, and in some cases iron content.
Choosing the right installation location
The best location is usually where water first enters the building, before it branches to the rest of the plumbing system. That allows the softener to protect most fixtures and appliances. In many homes, this is a basement, utility room, or garage. In commercial spaces, the placement may depend on service access, floor drains, and the plumbing layout.
The installation area should have enough room for the softener tank, brine tank, service clearance, and safe salt loading. It also needs access to a drain and a nearby electrical outlet if the control valve requires power. Temperature matters too. Softener systems should not be installed where they can freeze or overheat.
Accessibility is often overlooked. If the system is squeezed into a tight corner, routine maintenance becomes harder, leak checks get missed, and repairs take longer. A premium installation should leave enough room to inspect connections, replenish salt, and service the valve without dismantling surrounding plumbing.
Plumbing requirements that matter most
A reliable installation starts with the bypass valve and shutoff planning. The bypass lets you isolate the softener for maintenance or repair without cutting water to the building. If your system does not have a proper bypass arrangement, even a simple service visit becomes disruptive.
The softener should be installed after the main shutoff and typically after any sediment prefilter, if one is needed. Many installers also leave at least one hard-water line unsoftened for outdoor irrigation or other nonessential uses. That depends on the building and local practices, but it can reduce unnecessary salt consumption.
Pipe material also affects the install approach. Copper, PEX, and CPVC each require different connection methods and workmanship standards. This is not just about getting pipes to meet. It is about pressure integrity, code compliance, and reducing the chance of future leaks.
Pressure conditions should be checked before installation. If incoming pressure is too high, the system may need a pressure-reducing valve upstream. If pressure is too low, adding a softener will not solve the underlying performance issue. A good installer looks at the whole system, not just the softener itself.
Drain line and brine line setup
This is where many DIY installs go wrong. A water softener needs a proper drain connection for regeneration discharge. That drain line has to be routed to an approved drain point with the correct air gap where required by code. Without that separation, there is a risk of backflow contamination.
The drain line also needs to be sized and secured correctly. If it is undersized, kinked, or run too far without accounting for the system limits, regeneration can fail. That can leave the unit partially cleaned, inefficient, or completely nonfunctional.
The brine line between the resin tank valve and the brine tank also needs careful setup. Loose fittings, incorrect routing, or damaged tubing can cause air leaks or brine draw problems. Those issues are not always obvious at first. Sometimes the softener appears to work for a short period before hardness starts returning.
Electrical and programming considerations
Most modern water softeners use a control head that needs power and proper programming. This is where a basic install becomes a complete install. The valve settings must match the actual water hardness, resin capacity, reserve needs, and regeneration timing.
If those settings are wrong, the system may regenerate too often, not often enough, or at the wrong time of day. In a home, that can mean wasted salt and water. In a commercial environment, it can affect uptime and create inconsistency across fixtures and equipment.
Backup settings also matter after power interruptions. Some control heads retain programming well, while others need verification after outages. For properties where continuity matters, especially multi-unit or light commercial sites, this should be part of the installation checklist.
Startup: the step that proves the install
A proper startup is not just filling the brine tank with salt and turning the water back on. The resin tank must be brought online slowly to avoid damaging internal media or creating pressure shock. Connections should be checked under pressure, and the system should be cycled through regeneration to confirm each stage works as intended.
That includes verifying brine draw, refill, drain flow, and valve transitions. Water hardness testing before and after startup is also valuable. Without testing, you are mostly assuming the system is doing its job.
This is another area where a professional install adds value. An experienced technician does not stop when the unit powers on. They confirm the system is actually treating the water and that the plumbing around it remains stable under normal operating conditions.
When DIY makes sense and when it does not
A straightforward residential replacement in an accessible mechanical area may look manageable, especially if the plumbing is modern and the drain setup is already in place. If you have the right tools, understand local plumbing code, and know how to program the control valve, DIY can be possible.
But there are clear situations where professional installation is the better choice. If this is a first-time install, if the plumbing needs to be rerouted, if drainage is not simple, or if the property has mixed water quality issues, the margin for error gets smaller fast. The same applies to commercial properties, larger homes, and any site where downtime or water damage would be costly.
The trade-off is simple. DIY can save upfront labor cost, but mistakes often show up later as leaks, poor softening performance, excessive salt use, or code issues. Professional installation costs more at the start, but it usually reduces risk and shortens the path to dependable operation.
Common mistakes this water softener installation guide can help you avoid
The most common problem is choosing a softener based on price alone instead of water conditions and usage. The second is poor placement, especially where salt loading, service access, or freezing temperatures become an issue. After that, installation errors tend to center on bypass configuration, drain routing, and incorrect programming.
Another frequent mistake is skipping a pre-install water test. Hardness is the starting point, but not always the whole story. Iron, manganese, chlorine, sediment, and pH can all influence how the system should be configured or whether other treatment steps are needed.
Then there is the expectation issue. A softener can reduce scale and improve cleaning performance, but it does not filter every contaminant or make every water complaint disappear. Good installation includes clear expectations, not just correct plumbing.
Maintenance starts at installation
The way a softener is installed affects how easy it will be to maintain. Resin systems need salt replenishment, periodic inspection, and occasional service depending on water conditions and usage. If the unit is hard to reach or the setup is not clearly labeled, maintenance gets delayed.
It also helps to know what normal operation looks like from day one. You should know how often the system is expected to regenerate, what type of salt is recommended, and what signs suggest a service issue. Those include salt bridging, hardness returning, unusual water at the drain line, or visible moisture around fittings and valves.
For customers who want reliable long-term performance, installation should never be treated as a one-time event. It is the beginning of system care.
Why professional installation often pays off
A quality install protects more than the softener. It protects floors, walls, connected plumbing, water-using appliances, and the customer experience. For many properties, especially those with older plumbing or variable water conditions, the technical judgment behind the install matters as much as the unit itself.
That is why many customers choose expert service rather than piecing the job together. A provider like Plumingo can assess water conditions, confirm sizing, install to code, and make sure the system is actually performing the way it should. That kind of clarity matters when the goal is not just softer water, but fewer plumbing issues and more predictable system performance.
If you are planning a water softener installation, the best next step is to treat it like infrastructure, not a quick add-on. The right setup pays you back quietly every day through better water, better efficiency, and fewer surprises.