
A water heater that suddenly sounds like a kettle, takes longer to recover, or delivers less hot water may not be failing. Sediment at the bottom of the tank is often the cause. Knowing how to flush water heater equipment properly can restore performance, reduce strain on the system, and give you a clearer picture of its condition.
This is practical maintenance, not a cure-all. A flush can remove loose mineral buildup, but it will not repair a leaking tank, a failed heating element, a damaged gas control valve, or a corroded connection. If the unit is aging or showing warning signs, a professional inspection may be the better starting point.
Why water heater flushing matters
Water naturally carries minerals. As water is heated, minerals such as calcium can settle at the base of a storage-tank water heater. Over time, that layer of sediment can make the burner or electric elements work harder to heat the water above it.
The result depends on your water quality, household demand, and the age of the equipment. Common signs include popping or rumbling during a heating cycle, inconsistent hot water, reduced recovery time, and discolored water from the hot side only. Hard water can accelerate buildup, which is why homes with water softeners still need periodic system checks.
For many homes, flushing a tank once a year is a sensible maintenance interval. In areas with particularly hard water, or in buildings with high hot-water demand, a professional may recommend a different schedule. The manufacturer’s instructions should always take priority.
Before you flush a water heater
Confirm that you have a conventional tank-style heater. Tankless water heaters require a separate descaling process that uses isolation valves and a cleaning solution. Opening a tankless unit’s drain connection as if it were a storage tank can lead to an incomplete or incorrect service procedure.
For a tank heater, gather a standard garden hose, a bucket if needed, gloves, and a towel. Choose a drainage location that can safely handle hot water and sediment. A floor drain is ideal. A driveway, exterior drain area, or large utility sink may work, but make sure the hose will stay secured and that hot discharge will not damage surfaces, landscaping, or nearby materials.
Before starting, check the heater’s drain valve. Plastic drain valves can become brittle with age. If the valve is cracked, heavily corroded, or difficult to operate, do not force it. Replacing a damaged valve is a repair task worth handling before flushing the tank.
Shut down the heat source first
Turn off power at the breaker for an electric water heater. This step is essential: an exposed electric element can burn out if the tank is drained while power remains on.
For a gas water heater, set the gas control to the vacation or pilot setting according to the manufacturer’s directions. Do not disconnect gas piping. If you smell gas, stop work, avoid switches or open flames, leave the area, and contact the appropriate utility or qualified professional.
Next, close the cold-water supply valve above the tank. Let the water cool before draining. Water inside a heater can be hot enough to cause serious burns, so allowing several hours of cooling is the safest approach when time permits.
How to flush water heater sediment step by step
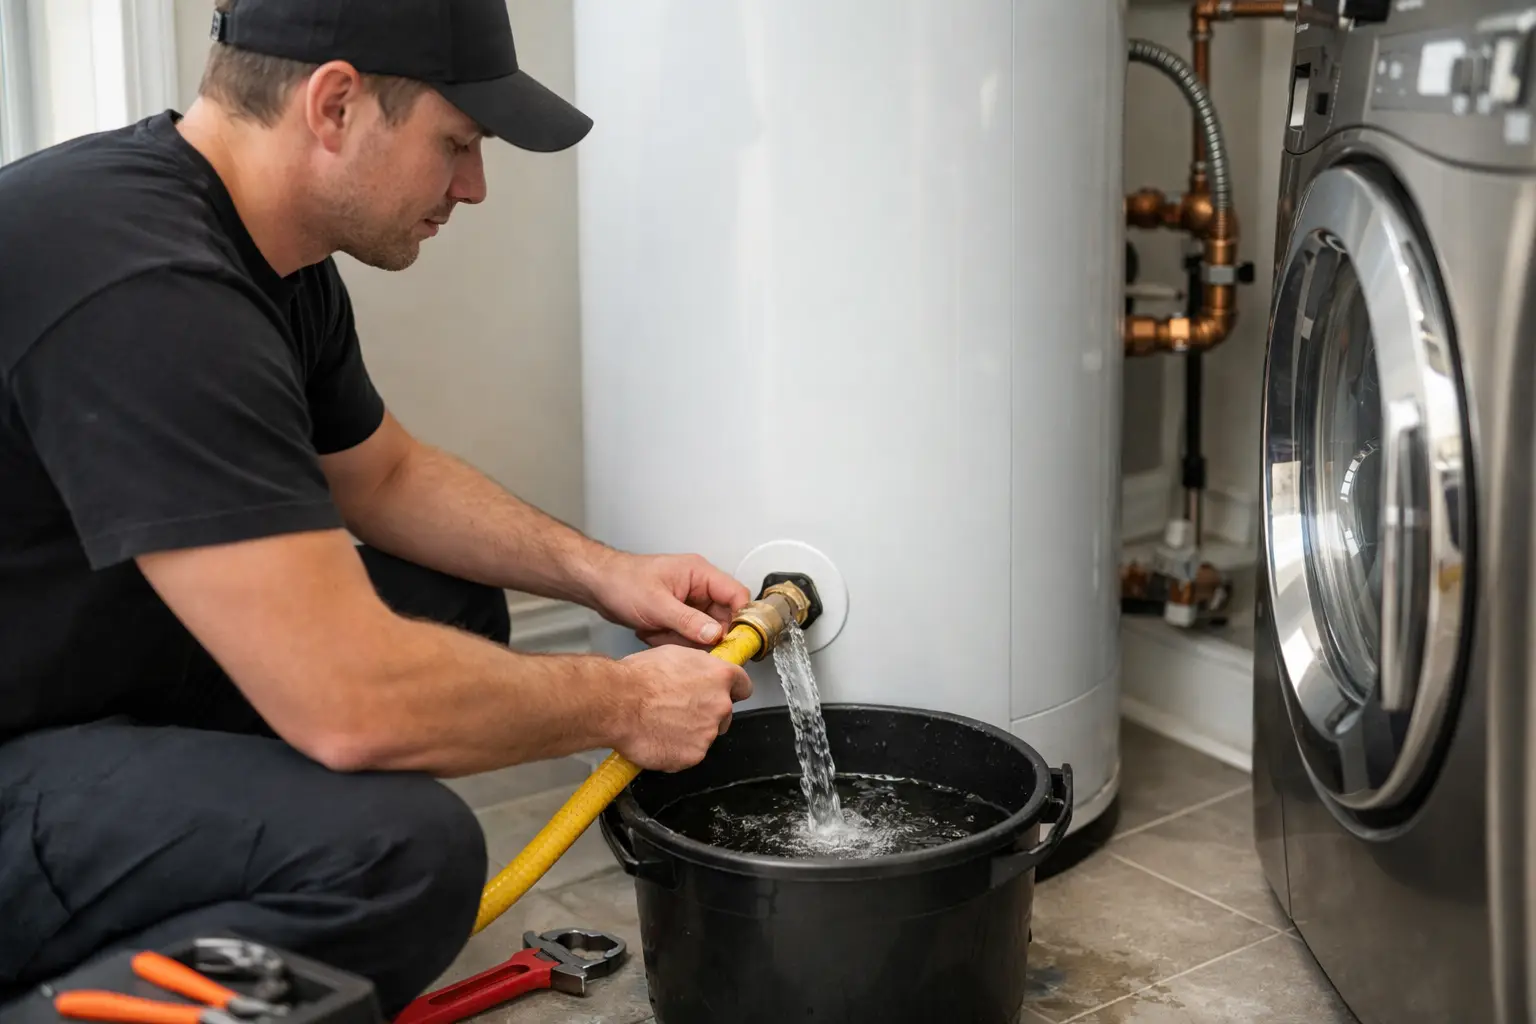
Attach the garden hose tightly to the drain valve near the bottom of the tank. Run the other end to your chosen drainage point, keeping it clear of foot traffic and making sure it will not whip loose when water begins moving.
Open a hot-water faucet at a nearby sink. This lets air enter the plumbing and helps the tank drain more consistently. Then slowly open the heater’s drain valve. Start gradually so you can confirm there are no leaks at the hose connection.
At first, the discharge may be cloudy, rusty, or contain small particles. Let the tank empty as fully as possible. If flow slows to a trickle or stops while the tank still has water in it, sediment may be blocking the valve. Do not poke sharp tools into the drain opening or apply excessive force. A professional can clear or replace a blocked valve without creating a larger leak risk.
Once the tank has drained, briefly reopen the cold-water supply while leaving the drain valve and hot-water faucet open. This rinses remaining loose sediment toward the hose. Run the water in short intervals until it appears substantially clearer. You do not need perfectly transparent discharge to complete a useful flush, especially in a hard-water area. The goal is to remove what can move safely through the valve, not to disturb a heavily compacted deposit.
Close the drain valve firmly, but do not overtighten it. Remove the hose, then fully open the cold-water supply. Leave the hot-water faucet open until water flows steadily without sputtering. This confirms that the tank is full and air has been pushed from the line.
Only after the tank is completely full should you restore power to an electric heater. For gas equipment, return the control to its normal operating setting as directed by the manufacturer. Check the drain valve and surrounding connections for drips over the next few hours.
What not to do during a water heater flush
A careful flush is usually straightforward, but a few shortcuts create avoidable problems:
- Do not drain a very hot tank into an unsuitable sink, plastic drain, or area where people or pets may be exposed to hot water.
- Do not turn an electric heater back on until a hot faucet runs smoothly and the tank has fully refilled.
- Do not force a seized drain valve, corroded shutoff valve, or pressure-relief component.
- Do not assume brown water always comes from sediment. Corrosion in the tank or plumbing may need diagnosis.
- Do not flush a leaking tank and expect the leak to disappear. Water around the base of a heater deserves prompt attention.
Some older heaters present a trade-off. If a unit has never been serviced and has substantial corrosion or visible leakage, aggressive maintenance can reveal weaknesses that sediment was partly masking. That does not mean flushing caused the underlying problem, but it does mean the tank may already be near the end of its practical service life. A professional assessment can help determine whether a gentle flush, valve repair, or replacement planning makes the most sense.
When to call a professional
Bring in a qualified plumber if the drain valve is blocked, the shutoff valve will not close, the pressure-relief valve is leaking, or water is collecting beneath the tank. Professional help is also appropriate when hot water remains rusty after flushing, the heater makes persistent loud banging sounds, or the system has a history of repeated performance issues.
Property managers and commercial operators should be especially cautious with larger-capacity systems, recirculation equipment, and interconnected water treatment devices. A maintenance plan should account for demand patterns, safety controls, sediment levels, and local code requirements rather than treating every heater as a standard residential tank.
For homeowners in Kitchener who would rather not handle valves, drainage, and restart procedures, Plumingo can assess the heater, complete appropriate maintenance, and explain the condition of the system clearly before recommending next steps.
Keep sediment from returning too quickly
Flushing addresses buildup that is already in the tank. Managing the water that enters the tank can help slow future accumulation. If hard-water scale is a recurring issue, testing the water and reviewing water-softener performance may be more useful than simply flushing more often. A softener needs the right settings, salt level, and regeneration performance to provide consistent results.
It also helps to pay attention to small changes. Note when the heater starts making noise, when recovery seems slower, or when hot water begins to look different. Those details make a service visit more efficient and can help separate normal sediment maintenance from a developing equipment problem.
A clean flush should leave you with a refilled tank, dry connections, and normal hot-water operation. If anything about the process feels uncertain, stop before forcing a part. Protecting a water heater is less about doing every task yourself and more about making the right call for the condition of the system.