
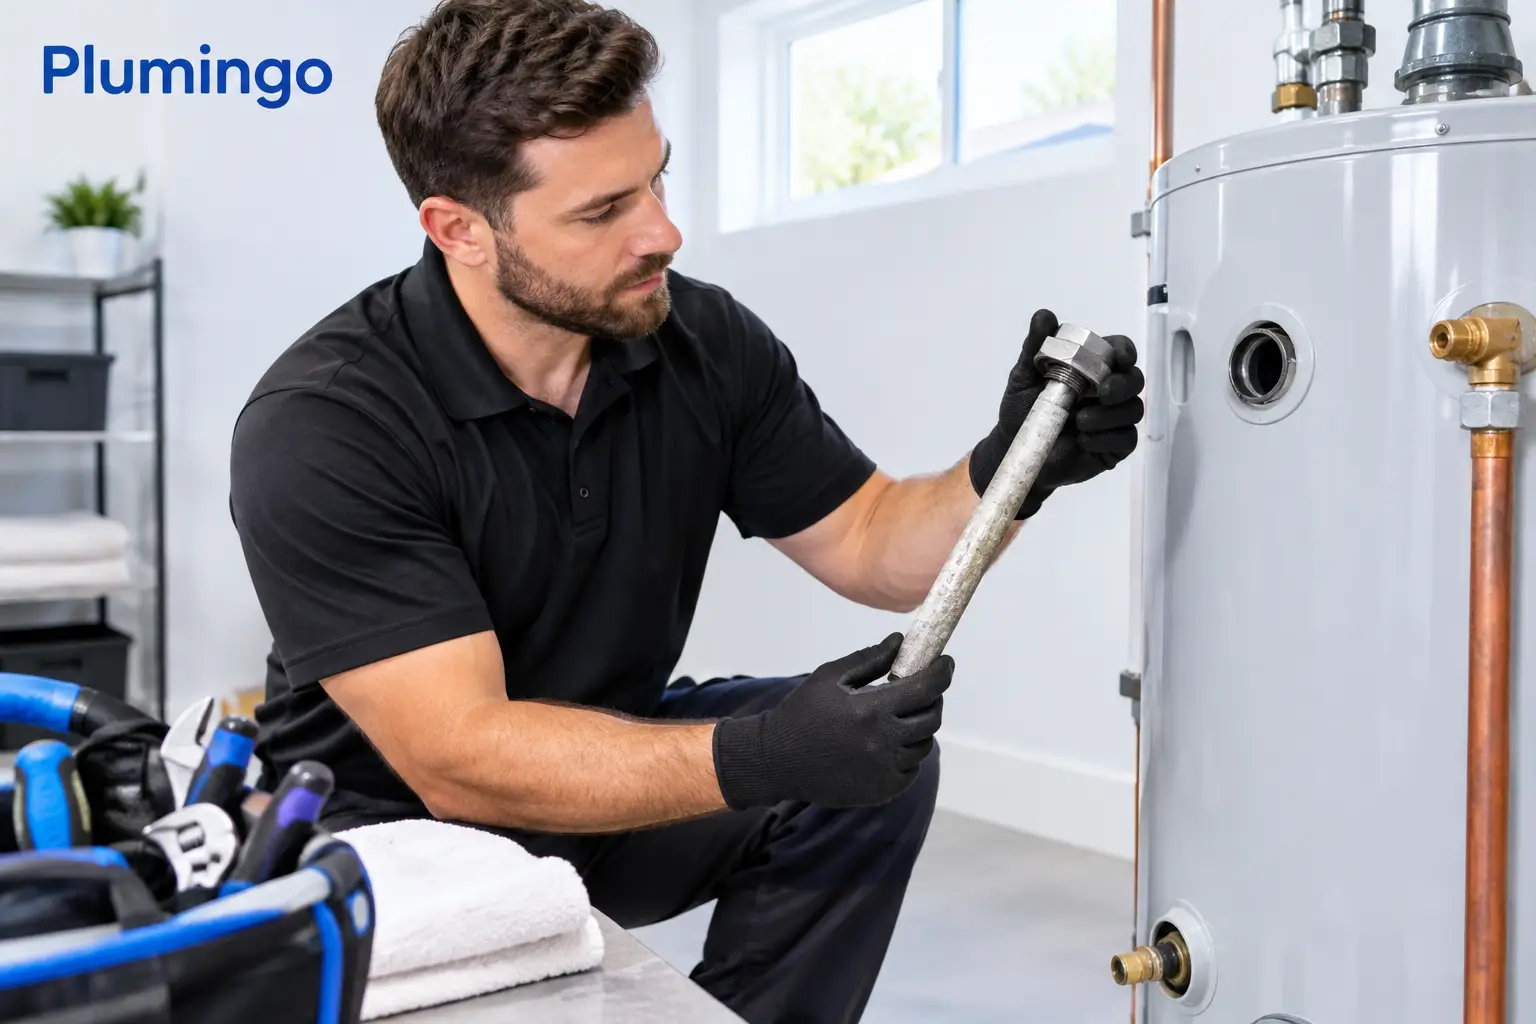
A water heater can look perfectly normal from the outside while corrosion is quietly working inside the tank. The anode rod is the part designed to take that damage first. Knowing how to change an anode rod can extend the useful life of a tank-style water heater, reduce the chance of premature tank failure, and help protect a major home or building system.
This is a manageable maintenance project for an experienced homeowner, but the rod can be difficult to remove, especially in older heaters or homes with limited overhead clearance. If the job requires excessive force, involves a gas connection, or reveals active leaks, professional service is the practical choice.
What an anode rod does inside a water heater
An anode rod is a long metal rod installed through the top of most conventional storage-tank water heaters. It is commonly made of magnesium, aluminum, or an aluminum-zinc alloy. Because the rod is more reactive than the steel tank, minerals and corrosive elements in the water attack the anode first.
This process is called sacrificial protection. Put simply, the rod gives up material so the tank lining and steel shell have more protection. Once the rod is depleted, the tank itself becomes more vulnerable to corrosion. Unlike many plumbing components, a corroded tank generally cannot be repaired reliably. Replacing an anode rod before it is fully consumed is a small maintenance decision that can prevent a much larger replacement project.
Not every water heater has a serviceable anode rod. Tankless systems do not use one, and some specialty or older tank models may have different configurations. Check the unit's label, manual, or manufacturer specifications before ordering a replacement.
Before you change an anode rod
Start by confirming the replacement rod is compatible with your water heater. The tank capacity, rod length, thread size, water chemistry, and available clearance above the heater all matter. A standard solid rod may be difficult or impossible to install in a basement utility room with low ceilings. In that case, a flexible segmented rod can be a better fit.
Choose the material carefully. Magnesium rods generally provide strong corrosion protection and are often preferred for typical residential water conditions. Aluminum rods can be more suitable where water is especially hard, but they may contribute to odor concerns in certain water conditions. Aluminum-zinc rods are sometimes used when sulfur-like hot water odors are present, although odor can also be related to bacteria, water chemistry, or the heater's temperature setting. A powered anode rod is another option for some tanks, particularly where water conditions consume standard rods quickly.
Before beginning, gather the tools and materials needed for the job:
- A compatible replacement anode rod
- A 1 1/16-inch socket with a breaker bar or impact wrench
- A garden hose, bucket, and towels for draining and cleanup
- Thread sealant approved for potable-water plumbing, if recommended by the manufacturer
- Work gloves and eye protection
Allow enough time for the water in the tank to cool. Hot water can cause serious burns, and a tank that has been operating recently may remain hot for hours.
How to change an anode rod safely
1. Shut down the heater's energy source
For an electric water heater, turn off the correct circuit breaker before touching the unit. Verify power is off. An exposed electric element can burn out quickly if power is restored while the tank is empty or partially drained.
For a gas water heater, follow the manufacturer's shutdown instructions. This usually means turning the gas control to a pilot or off position. Avoid disconnecting gas piping for an anode rod replacement. If the gas control, burner area, or venting appears damaged, stop and arrange qualified service.
2. Turn off the cold-water supply and relieve pressure
Close the cold-water shutoff valve feeding the water heater. Then open a hot-water faucet at a nearby sink or tub. This relieves pressure in the tank and allows air into the system while water is drained.
Connect a garden hose to the drain valve near the bottom of the tank. Route the hose to a suitable drain or large bucket. Keep children and pets away from the work area, and make sure the hose will not discharge hot water where it could cause injury or damage.
3. Drain enough water to work safely
You do not usually need to fully empty the tank just to replace the rod. Draining several gallons lowers pressure and gives you a chance to inspect the water for heavy sediment. In areas with mineral-rich water, a more thorough flush may be worthwhile, but only if the drain valve is functioning properly and the tank is in sound condition.
If the drain valve clogs or the water flow is unusually weak, do not force it. Sediment buildup is common in older units, and forcing a failing drain valve can create a separate repair issue.
4. Locate and loosen the old rod
The anode rod is typically located on top of the tank beneath a plastic cap or near the hot-water outlet. It usually has a large hex head. Remove the cap if present and fit the socket securely over the hex head.
Anode rods are often installed tightly and can seize over time. Use a breaker bar for controlled leverage, keeping the socket straight to avoid damaging the fitting. An impact wrench can help, but it should be used carefully. Excessive twisting can rotate or stress the water heater, particularly if the unit is older or loosely installed.
If the rod will not break free with reasonable effort, stop. Applying more force is not always the solution. A plumbing professional can remove a seized rod while protecting the tank connections and surrounding piping.
5. Inspect what comes out
A healthy used rod will show wear but still have a visible metal core. A rod that is heavily pitted, coated in mineral buildup, or reduced to a thin wire has reached the end of its service life.
Take note of what you see. Heavy mineral scale may point to hard-water conditions, while unusual odor or black residue may call for a broader water-quality assessment. Replacing the rod is valuable, but it does not automatically solve every hot-water quality concern.
6. Install the new anode rod
Apply thread sealant only if the heater manufacturer recommends it. Thread the new rod in by hand first to avoid cross-threading. Once it is seated correctly, tighten it firmly with the socket. Do not overtighten. The goal is a secure, leak-free connection, not maximum force.
A flexible rod should be fed into the tank gradually. Avoid bending or forcing it against nearby pipes, venting, or electrical connections.
7. Refill the tank before restoring power or gas
Close the drain valve, remove the hose, and open the cold-water supply. Keep a hot-water faucet open until air stops sputtering and water flows steadily. Check the anode fitting, drain valve, and nearby connections for leaks.
Only after the tank is fully refilled should you restore electrical power or return the gas control to its normal operating setting. Then check the area again after the unit has reheated.
When should an anode rod be replaced?
There is no single replacement schedule that fits every property. Many manufacturers suggest inspecting the rod after the first three to five years, then checking it more frequently based on its condition. Water hardness, water softeners, household water use, tank temperature, and local water chemistry can all affect how quickly a rod is consumed.
A water softener deserves special attention. Softened water can be easier on fixtures and appliances in several ways, but it may increase anode rod consumption in some systems. That does not mean a softener is a problem. It means water heater maintenance should be part of the overall water-treatment plan.
For rental properties and commercial spaces, documenting the inspection date and rod condition is helpful. It gives property managers a clearer maintenance record and makes it easier to plan service before a tank reaches the end of its useful life.
When a professional should handle the job
Call for qualified plumbing service if the anode rod is seized, the heater is leaking, the drain valve will not close, or you notice corrosion around the top fittings. Professional help is also sensible when the unit is in a tight mechanical room, connected to complex recirculation piping, or serves a business where downtime needs to be controlled.
A technician can confirm the right rod type, assess sediment levels, and identify whether a water-quality issue is contributing to early wear. That approach is often more efficient than replacing parts repeatedly without addressing the conditions affecting the system.
A new anode rod is a quiet form of prevention: a modest service task that helps the tank keep doing its job. If the removal feels unsafe or the condition of the heater raises questions, pause the project and have the system assessed before turning it back on.